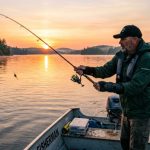
Every angler knows the sinking feeling when their favorite fishing rod sustains damage. Graphite rods are lightweight and sensitive, making them popular among anglers. However, their delicate nature means they’re prone to cracking and splintering, especially at the tip. Fortunately, repairing a damaged rod doesn’t always require professional help or expensive replacement. With the right materials and techniques, you can restore your equipment and get back on the water. For comprehensive fishing equipment maintenance tips and product recommendations, Crazy Fishing Gear offers valuable resources for anglers of all skill levels.
Understanding why graphite tips break helps prevent future damage. These slender sections face tremendous stress during casting and fighting fish. Additionally, accidental impacts against boat gunwales, car doors, or rocks cause structural weakness. Temperature changes can also affect graphite’s integrity over time. Therefore, knowing repair methods saves money and extends your rod’s lifespan.
Assessing the Damage to Your Rod Tip
Before starting any repair, carefully examine the extent of the damage. Minor splinters differ significantly from complete breaks. A small crack may only need reinforcement, while severe damage might require tip replacement. Hold the rod up to light and look for hairline fractures that aren’t immediately visible. These small cracks can worsen during use if left untreated.
Check how far the damage extends down the blank. If the splintering affects more than two inches, replacement often proves more reliable than repair. However, surface-level damage usually responds well to proper treatment. Feel along the rod section for rough spots or raised areas indicating underlying problems. When assessing your damage, resources like how to fix a broken fishing rod tip provide detailed guidance on different repair scenarios.
Understanding your rod’s construction helps determine the best approach. Some graphite rods feature different layering techniques that affect repair methods. Consequently, knowing whether you have a high-modulus or standard graphite blank influences material selection.
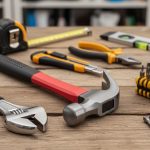
Gathering Essential Repair Materials
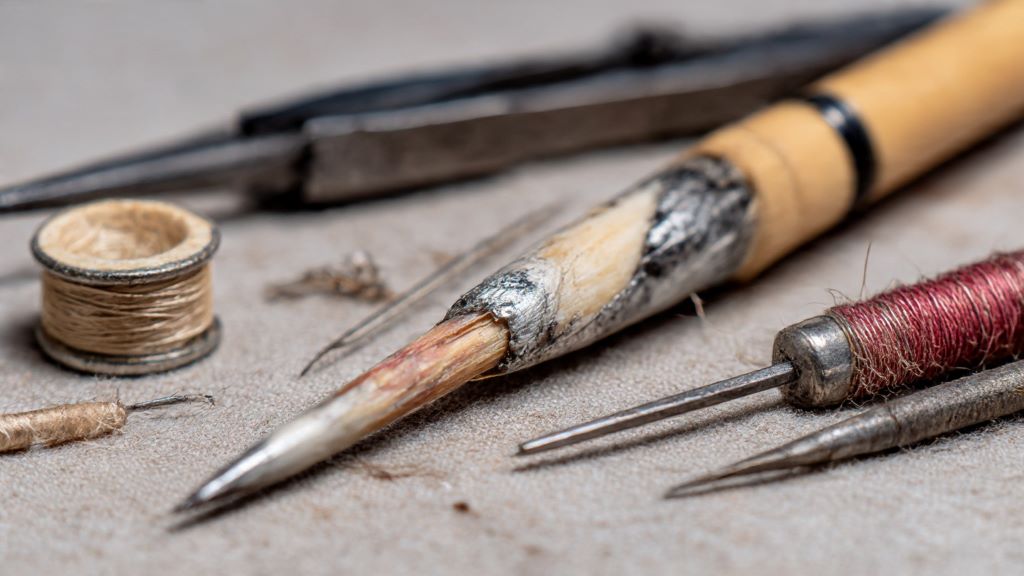
Successful repairs depend on having the right supplies ready. Start with high-quality epoxy designed specifically for fishing rod repairs. Marine-grade epoxy works excellently because it resists water and provides strong bonding. You’ll also need fine-grit sandpaper, ranging from 220 to 400 grit. This prepares surfaces for optimal adhesion.
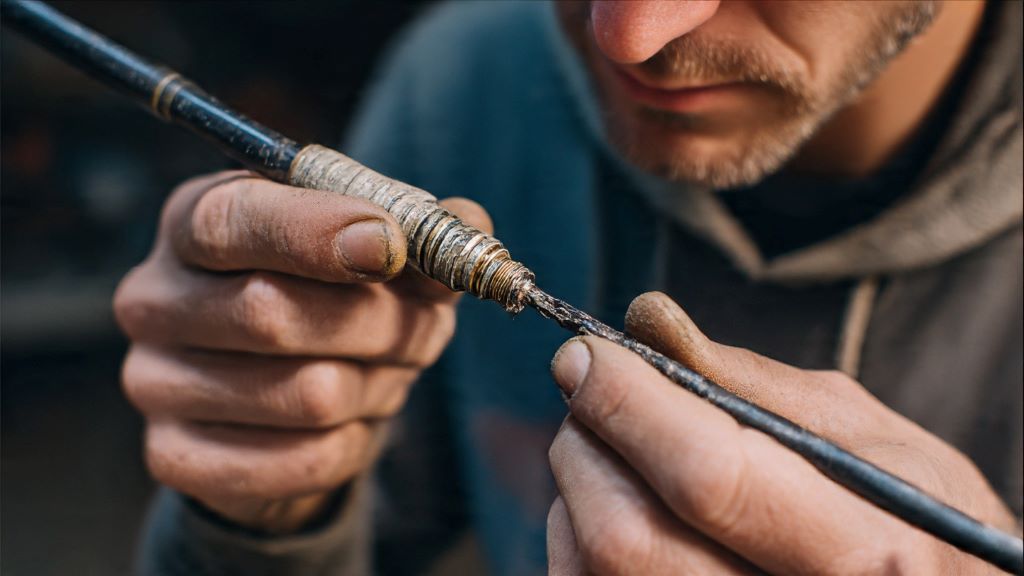
Thread wrapping materials become necessary for reinforcing damaged areas. Size A rod wrapping thread in neutral colors provides adequate strength without adding excessive weight. Color preserver and rod finish protect your thread work and create a professional appearance. Additionally, gather rubbing alcohol for cleaning and cotton swabs for precise application.
Some repairs benefit from fiberglass cloth or carbon fiber sleeves. These materials provide structural reinforcement around damaged sections. Sharp scissors, a rotary tool or hobby knife, and disposable gloves round out your toolkit. Therefore, preparing everything beforehand makes the repair process smoother and more efficient.
Cleaning and Preparing the Damaged Area
Proper preparation determines repair success more than any other factor. Begin by cleaning the damaged section thoroughly with rubbing alcohol. This removes oils, dirt, and residue that prevent proper bonding. Allow the area to dry completely before proceeding further.
Next, carefully sand the splintered area using fine-grit sandpaper. Work gently to avoid creating additional damage while roughening the surface for better epoxy adhesion. Remove any loose graphite fibers or fragments that could compromise structural integrity. Wipe away sanding dust with a clean, lint-free cloth.
Inspect your work under good lighting to ensure you’ve addressed all damaged areas. Sometimes additional cracks become visible after initial cleaning. Mark these spots with a pencil for reference during repair. Furthermore, proper preparation creates the foundation for a repair that lasts multiple fishing seasons.
Applying Epoxy and Reinforcement
Mix your epoxy according to manufacturer instructions, ensuring proper ratios for maximum strength. Working quickly prevents premature hardening. Apply a thin layer directly to the cleaned, sanded area using a toothpick or small applicator. Press the epoxy into cracks and splits carefully.
For surface splinters, the epoxy alone may provide sufficient repair. However, deeper damage requires additional reinforcement. Wrap the area with fine thread in tight, overlapping spirals. This technique, borrowed from guide wrapping, adds structural support. Moreover, the thread distributes stress across a larger area rather than concentrating it at the damage point.
Some anglers prefer using thin fiberglass cloth strips saturated with epoxy. Cut a small piece that extends beyond the damaged area by at least half an inch on each side. Wrap this around the rod section, smoothing out air bubbles and excess epoxy. Rotate the rod slowly while the epoxy begins setting to prevent drips and ensure even coating.
Allow the repair to cure fully according to epoxy specifications. Most quality epoxies require 24 hours for complete hardening. Rushing this step compromises strength and durability. According to Field & Stream, proper curing time remains critical for achieving professional-quality rod repairs.
Finishing and Protecting Your Repair
Once the epoxy has fully cured, inspect your work for rough edges or high spots. Carefully sand these areas smooth using progressively finer sandpaper grades. Start with 320 grit and finish with 600 grit for a seamless transition between repaired and undamaged sections.
Thread-wrapped repairs need additional protection from moisture and UV damage. Apply color preserver first, which prevents thread colors from bleeding when you add finish coats. Use a small brush to saturate the threads completely. After the preserver dries, apply thin coats of rod finish or marine spar varnish.
Multiple thin coats produce better results than one thick application. Allow each coat to dry thoroughly before adding the next. Typically, three to four coats provide adequate protection. Rotate the rod while drying to prevent drips and runs. The final finish should feel smooth to the touch and appear glossy.
Testing Your Repaired Rod
Before returning to serious fishing, test your repair carefully. Start with gentle flexing to ensure the repair holds without cracking. Gradually increase pressure while watching for any signs of failure. Attach your reel and line, then practice casting in an open area away from obstacles.
Begin with light lures or weights, progressively increasing to your typical fishing loads. Monitor the repaired section during these test casts. Any unusual sounds, feelings, or visible problems indicate the repair needs additional work. Therefore, thorough testing prevents disappointment during actual fishing trips.
If the repair holds strong during testing, you’ve successfully restored your rod’s functionality. However, remember that repaired sections may not match original strength. Avoid subjecting the rod to extreme stress or heavy fish beyond its repaired capacity. Many anglers choose to use repaired rods for lighter applications while reserving pristine equipment for demanding situations.
Preventing Future Tip Damage
Prevention proves easier than repair in most cases. Store your rods in protective cases or tubes during transport. Rod socks provide basic protection but won’t prevent impact damage. Hard cases offer superior protection, especially for expensive graphite rods.
Additionally, be mindful of your surroundings when handling rods. Boat trailers, car doors, and overhead obstacles cause many tip breaks. Develop habits that prioritize rod safety, such as breaking down rods before moving locations. Furthermore, avoid high-sticking fish, which places extreme pressure on rod tips.
Regular maintenance helps identify potential problems before they become serious. Inspect your rods after each trip for signs of wear or damage. Small cracks caught early are easier to repair than extensive breaks. Apply rod wax periodically to protect finishes and detect surface irregularities through touch.
When to Consider Professional Repair or Replacement
Some damage exceeds DIY repair capabilities. Complete breaks near the tip top require precision work best handled by professionals. Multiple fractures along the blank indicate structural failure that home repairs cannot adequately address. Similarly, if you lack confidence in your repair skills, professional services provide peace of mind.
Replacement tips offer another option for severely damaged sections. Many manufacturers sell tip sections separately, allowing you to maintain your rod’s original specifications. This approach works well for expensive or specialized rods where maintaining original performance matters most. Contact your rod manufacturer to inquire about replacement parts availability.
Consider the rod’s overall value when deciding between repair and replacement. Budget-friendly rods sometimes cost less to replace than repair professionally. However, high-end rods or those with sentimental value justify more extensive repair efforts. Evaluate your options carefully before committing to a course of action.
Conclusion
Repairing a splintered graphite rod tip extends your equipment’s life and saves money compared to replacement. By carefully assessing damage, gathering appropriate materials, and following proper techniques, most anglers can successfully restore their rods. Thorough preparation, quality materials, and patience during curing produce durable repairs that withstand regular fishing conditions. While not every repair succeeds, developing these skills empowers you to handle minor equipment problems independently. Remember that prevention through proper handling and storage remains the best strategy for maintaining your fishing rods in excellent condition.
Frequently Asked Questions
Can I fish with a splintered rod tip before repairing it?
Fishing with a damaged tip risks further breakage and potential equipment loss. The splinter will likely worsen under casting stress, possibly causing complete failure. Additionally, damaged tips affect casting accuracy and fish-fighting ability. Therefore, repair the damage before your next fishing trip to avoid worse problems.
How strong is an epoxy-repaired rod tip compared to the original?
Properly executed repairs typically restore 70-80% of original strength. The repaired section won’t match pristine graphite performance but remains functional for most fishing applications. Avoid subjecting repaired rods to extreme stress situations. Use them for moderate fishing where you don’t expect to encounter trophy-sized fish requiring maximum rod strength.
What type of epoxy works best for graphite rod repairs?
Marine-grade two-part epoxy formulated for fishing rod repairs provides optimal results. These products resist water, maintain flexibility, and bond strongly with graphite surfaces. Avoid quick-setting epoxies that don’t allow adequate working time. Look for products specifically marketed for rod building or repair applications at tackle shops or online retailers.
How long does a rod tip repair typically last?
Well-executed repairs often last several years with proper care and moderate use. The longevity depends on repair quality, fishing intensity, and how you handle the rod. Regularly inspect repaired areas for signs of deterioration. Some repairs last the rod’s remaining lifetime, while others may need touch-ups after extended use.
Should I remove the tip-top guide before repairing the tip?
Removing the tip-top guide provides better access to damaged areas and ensures thorough epoxy coverage. Heat the guide cement carefully with a lighter flame, then twist the guide off using pliers. Clean any remaining cement before proceeding with repairs. However, if damage doesn’t extend to the guide area, you can leave it in place during simple repairs.
Related Topics: